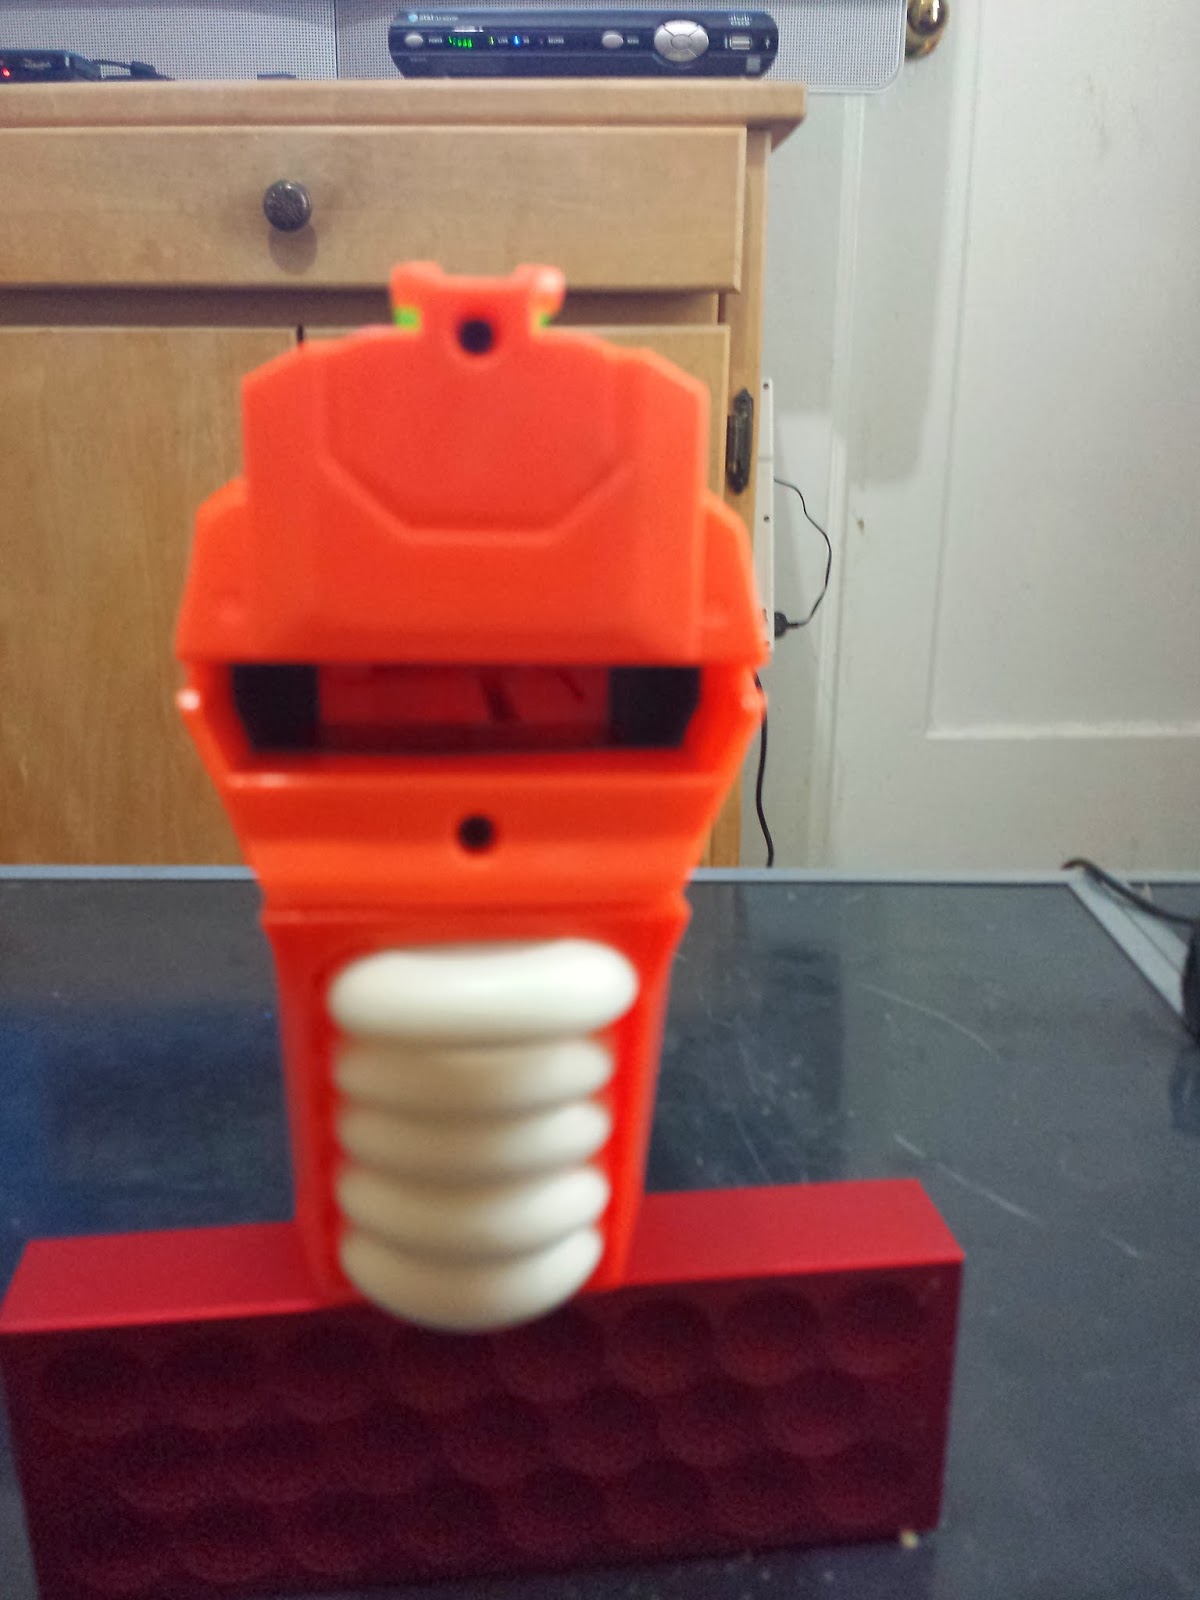
So today's post was going to be a review on the Fuse Fire complete with pics from the unboxing to the internals. Everything was going great until the dreaded stripped screw. Well, I figured I could get around that if it was the only screw that stripped and guess what happened? The very next screw stripped the same as the previous screw. Well, being a man of little patience I kind of...well I will let the pictures do the talking after the break.
 |
| As you can see things started off smashingly and I was excited to renew my love of disc based blasters. |
Back art for Zombie Strike is informative and cool as usual it even tells you to "Take control of the night". If B.F.U. was still in his 20's then mayhem would be on tonight's agenda. Since I am an old man now this unboxing is the highlight of my day :-).
 |
| I love the whiteprints!!! |
Grabbed a couple of glamour shots for this bad Oscar from the front and side before the most anticipated teardown and internal pics. I like the external dart storage and the Hammershot orange coloring.
 |
| Great Profile |
 |
| Great Storage |
So I begin the tear down and here are my notes that I made before stripped screw gate.
- There are 3 different lengths of external screws so take note of where they go. Most of the screws are long so make sure you completely loosen them all up.
- The orange on the side are like plate armor. They are clipped in for the most part and that will make this blaster a painters dream.
- Make sure you unscrew the front plate as well.(Kinda obvious I know).
Well here is the post apocalypse carnage and a huge waste of $20....well not that huge because it was kinda fun to rage out on a blaster and I ended up with some cool cosmetic parts due to the orange plates.
 |
| BFU SMASH PUNY VORTEX |
Posse Out!

Thank's for review. Nice article. Good to see this…Great suggestions ! I love this blog, but can’t lay there all day everyday. Thank You Very Much for posting this
ReplyDeleteWonderful post
ReplyDeleteI really enjoyed your article, thank you for the useful content.
ReplyDelete